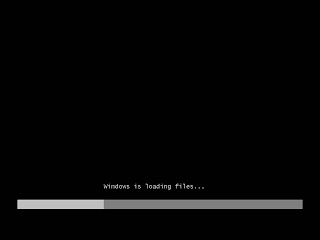
Installing Windows 7, first step, put the DVD in to the drive and make sure your BIOS is set to boot from the drive. Pretty standard Windows setup screen here. At this point though, is where the real excitement starts, sure it was anxiety provoking burning the DVD, but seeing it boot up,
Woah, Windows 7 beta 1 here we come!
 OO
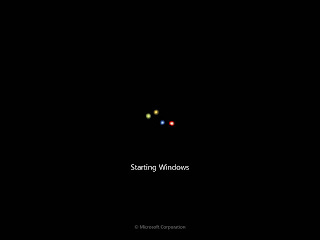
OO, some pretty lights as the setup program starts, a nice twist. I'm all for the bells and whistles!
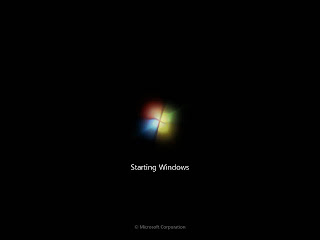
Ah, and what do the pretty lights turn in to? A Windows logo, neat.
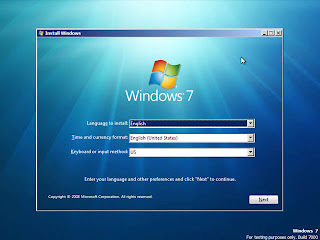
Alright, dialogue boxes, now we're talking! All I ever wanted was something to click on, pretty basic here, just select where you are and the language you speak.
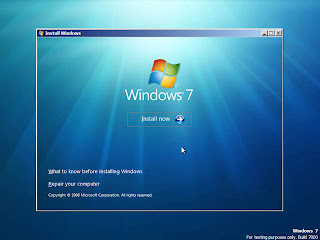
Alright, step 2, lets hit the Install Now button, so far pretty easy. Taking this from a person who has never done this before, there's nothing really to worry about during this installation up to this point. Let's see if it holds true throughout the process.
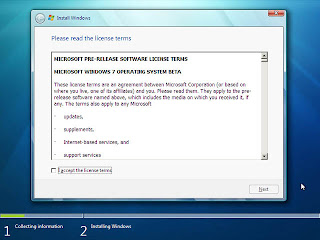
You even have to acknowledge open source project licenses, so no surprise here. Terms of course updated with each beta release, as they will be updated for the final release as well. Ever wonder how many people Microsoft has working on this?
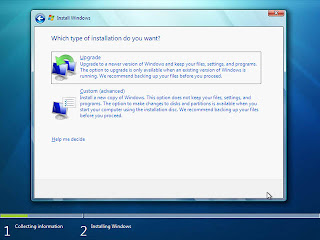
Alright, first hurdle. Since we booted from the DVD we have to do a Custom Advanced install. The upgrade option is greyed out (it's available if you start the setup from within your current version of Windows)
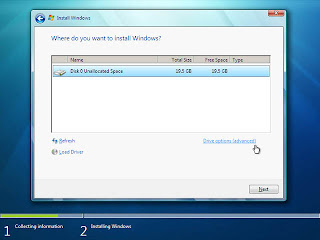
So this is what you get after you click Custom on the previous screen. I suppose this could be a little confusing for the non geek installer, especially if there is a list of multiple partitions. Though by now I'm sure a lot of casual users have gotten somewhat of a grasp on what a hard drive is. I hope so anyway. I didn't go to the Advanced tab to do any partitioning or
formatting, as I had one partition on this test I just clicked next.
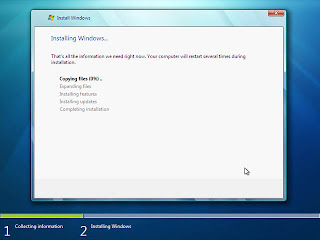
Alright, let the installation begin! Here setup copies archives over for extraction and installation on the hard drive.
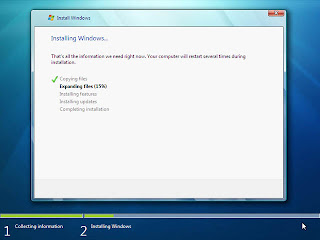
The files copied over pretty fast, now on to the extraction process. This didn't take long at all, about 6 minutes.
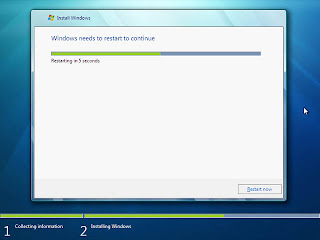
OK, so files were extracted, now setup needs a restart to continue. No big deal, this part of the process went by quickly. Cue the boot images from the start of this blog.

OK, so here we are, after the reboot and right back at it. Windows 7 starts services to continue installation.
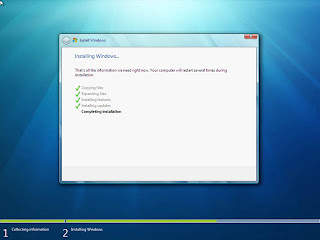
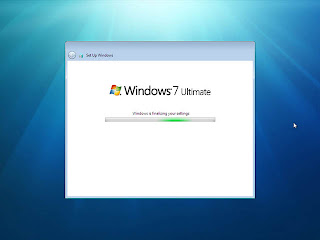
A quick glance back over to Windows 7's installation progress bar. I think really just to see the "Completing Installation" text. Cute.
Alright, if my new Windows 7 wants a restart before it shows me my desktop goodness, then a restart it gets! Cue the boot screen shots again...
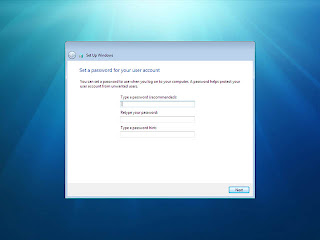
Right to action! I love it, at this point I can almost feel Windows 7 running through all 4GB of RAM and both cores. So here we go, lets pick a
username! (and password if you want, Windows 7 is good like that)
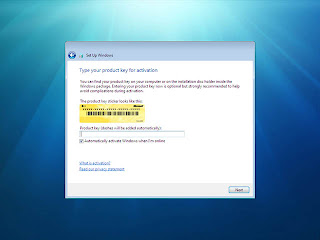
A change from Vista, here on the Windows 7 installation it asks for the product after Windows is installed, for both systems though you can hit next without putting in a product key, this will install Windows 7 in a 30 day trial mode.
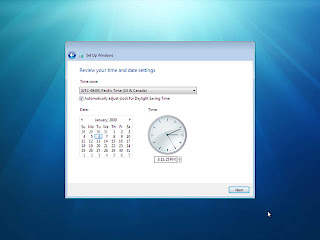
It's always good to set the clock! Windows 7 needs to know what time it is! You can really leave this as anything, just set your time zone and date. Once Windows 7 loads you can click on the clock and update from the Internet. Though I'm sure most people have previously set the time on their PCs, so Windows 7 should have that here already - just might need to change the timezone.

Picking the network location. Just as in Windows Vista, Windows 7 wants to know where you are, this determines how the OS will set file sharing and network discovery settings.
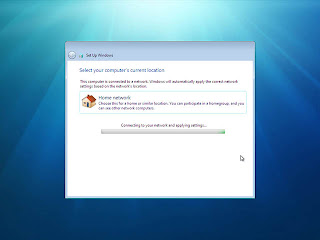
And here Windows 7 sets those settings for file sharing and network discovery. If you can remember the misery of setting up a network adapter in Windows 3.x or Windows 95, you might get a feeling of satisfaction at this screen. I know I did.

Cool new feature for a Home group. This feels like setting up a Media Extender. I like the idea, even more security for your networked files, and with an 1-2-3 setup like just entering a network code in to Windows 7 to automatically join together it's even easier than setting up Windows shares and editing network properties, like a
workgroup.
At this point - I can taste it! It just feels like it's almost done and I can't wait. Windows 7 here we come!
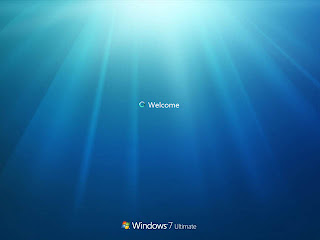
Yes,
Windows 7 welcomes me! I can feel it, I'm only seconds away from my full glory of Windows 7 beta 1 installed and running!
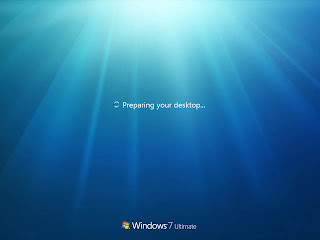
Nice, Thanks Windows 7 - I always like having a nice prepared desktop! (
Curious though, as after Vista they did away with all the desktop icons - though most
OEMs put them back. Really folks, try to get rid of the icons, you're using your desktop and don't need to minimize a window to get to something you access from the start menu - think intuitively)
And I'm in! Windows 7 sets up a few things super fast and...

My Windows 7 beta 1 desktop is here! Ready to go! Overall a pretty easy installation really. This would be a breeze to walk someone over the phone with, and most some-what
savvy computer people can surely do this on their own. I didn't need any special computer knowledge, or really any knowledge beyond reading to understand this. A good installation in my book, even installing Linux these days is just as simple, as is OS X.
 Installing Windows 7, first step, put the DVD in to the drive and make sure your BIOS is set to boot from the drive. Pretty standard Windows setup screen here. At this point though, is where the real excitement starts, sure it was anxiety provoking burning the DVD, but seeing it boot up, Woah, Windows 7 beta 1 here we come!
 OO, some pretty lights as the setup program starts, a nice twist. I'm all for the bells and whistles!
 Ah, and what do the pretty lights turn in to? A Windows logo, neat.
 Alright, dialogue boxes, now we're talking! All I ever wanted was something to click on, pretty basic here, just select where you are and the language you speak.
 Alright, step 2, lets hit the Install Now button, so far pretty easy. Taking this from a person who has never done this before, there's nothing really to worry about during this installation up to this point. Let's see if it holds true throughout the process.
 You even have to acknowledge open source project licenses, so no surprise here. Terms of course updated with each beta release, as they will be updated for the final release as well. Ever wonder how many people Microsoft has working on this?
 Alright, first hurdle. Since we booted from the DVD we have to do a Custom Advanced install. The upgrade option is greyed out (it's available if you start the setup from within your current version of Windows)
 So this is what you get after you click Custom on the previous screen. I suppose this could be a little confusing for the non geek installer, especially if there is a list of multiple partitions. Though by now I'm sure a lot of casual users have gotten somewhat of a grasp on what a hard drive is. I hope so anyway. I didn't go to the Advanced tab to do any partitioning or formatting, as I had one partition on this test I just clicked next.
 Alright, let the installation begin! Here setup copies archives over for extraction and installation on the hard drive.
 The files copied over pretty fast, now on to the extraction process. This didn't take long at all, about 6 minutes.
 OK, so files were extracted, now setup needs a restart to continue. No big deal, this part of the process went by quickly. Cue the boot images from the start of this blog.
 OK, so here we are, after the reboot and right back at it. Windows 7 starts services to continue installation.
 A quick glance back over to Windows 7's installation progress bar. I think really just to see the "Completing Installation" text. Cute.
 Alright, if my new Windows 7 wants a restart before it shows me my desktop goodness, then a restart it gets! Cue the boot screen shots again...
 Right to action! I love it, at this point I can almost feel Windows 7 running through all 4GB of RAM and both cores. So here we go, lets pick a username! (and password if you want, Windows 7 is good like that)
 A change from Vista, here on the Windows 7 installation it asks for the product after Windows is installed, for both systems though you can hit next without putting in a product key, this will install Windows 7 in a 30 day trial mode.
 It's always good to set the clock! Windows 7 needs to know what time it is! You can really leave this as anything, just set your time zone and date. Once Windows 7 loads you can click on the clock and update from the Internet. Though I'm sure most people have previously set the time on their PCs, so Windows 7 should have that here already - just might need to change the timezone.
 Picking the network location. Just as in Windows Vista, Windows 7 wants to know where you are, this determines how the OS will set file sharing and network discovery settings.
 And here Windows 7 sets those settings for file sharing and network discovery. If you can remember the misery of setting up a network adapter in Windows 3.x or Windows 95, you might get a feeling of satisfaction at this screen. I know I did.
 Cool new feature for a Home group. This feels like setting up a Media Extender. I like the idea, even more security for your networked files, and with an 1-2-3 setup like just entering a network code in to Windows 7 to automatically join together it's even easier than setting up Windows shares and editing network properties, like a workgroup.
 At this point - I can taste it! It just feels like it's almost done and I can't wait. Windows 7 here we come!
 Yes, Windows 7 welcomes me! I can feel it, I'm only seconds away from my full glory of Windows 7 beta 1 installed and running!
 Nice, Thanks Windows 7 - I always like having a nice prepared desktop! (Curious though, as after Vista they did away with all the desktop icons - though most OEMs put them back. Really folks, try to get rid of the icons, you're using your desktop and don't need to minimize a window to get to something you access from the start menu - think intuitively)
 And I'm in! Windows 7 sets up a few things super fast and...
 My Windows 7 beta 1 desktop is here! Ready to go! Overall a pretty easy installation really. This would be a breeze to walk someone over the phone with, and most some-what savvy computer people can surely do this on their own. I didn't need any special computer knowledge, or really any knowledge beyond reading to understand this. A good installation in my book, even installing Linux these days is just as simple, as is OS X.


Nice guide :)
ReplyDeleteGood one :)
ReplyDeleteSuperb the way of your explaination in this guide......
ReplyDeleteThx a lot....!!!!!!!
ReplyDeleteGreat *****
ReplyDeletegrate 10/10
ReplyDeleteAs a tech rep for a major motherboard manufacture I thank you for this as our customer's will be more informed! Keep up the great work!
ReplyDeleteITS VISTA LOL (same thing)
ReplyDeletenice tut.... thanx
ReplyDeleteThank You Great Post...
ReplyDeleteThank you! very helpful.
ReplyDeleteThis is very good information. I like this guide very much..... Thanks a lot for guiding.....
ReplyDeleteevery interesting story.. i liked it..
ReplyDeleteVery helpful and Nice guidance, thanks a lot
ReplyDeleteexlent guidance thanks a lot
ReplyDeletevery nice
very nice
ReplyDeleteThanx alot.. Very nice.
ReplyDeleteexcellent with ease
ReplyDeletenice but where do you choose between 32bit and 64bit os?
ReplyDeleteYou choose between 64bit & 32bit when you get the DVD, they come in different versions.
ReplyDeleteYou can use the same CD-KEY as long as it's the same type of DVD (OEM 32bit will work on OEM 64bit and Retail 32bit will work on Retail 32bit).
brilliant guide, wish it would install but when you choose a harddrive to install it on it says 'there are too many volumes or partitions on this drive that are not compatible with windows 7', ive formatted the harddrive and it dose'nt change, help
ReplyDeleteThat could be two things, a) the drive could be bad, but if you were using it before then that's not likely, b) There could be too many partitions, aside from formatting you should try to erase all the partitions and just re-create one to install Win7 to.
ReplyDeleteHi Fred. Thank you for this excellent step-by-step guide. I am a lecturer and was faced with the situation of trying to teach non-computer students, in a classroom, how to install an operating system without any computers. Your screenshots and wordings really help.. with your light hearted way of presenting the installation, I'm sure they won't hesitate to give it a go. Thank you! Kristy
ReplyDeleteKristy thanks for the kind words! I'm glad the post could lend some help.
ReplyDeleteVERY easy and comfort for who is new installation window 7 thanks a lot
ReplyDeleteThanks Fred needed the screen shots for a school assignment! no need to install pesky VMWARE! thanks again!
ReplyDeleteNice, thank u dude.
ReplyDeleteThis comment has been removed by a blog administrator.
ReplyDeleteawesome website...
ReplyDeletewhy im trying to choose my harddisk to install the wind7 they said "setup was unable to create a new system partiton or locate an existing system partion. See the setup log files for more information". I alredy format and the hd is now empty. What should i do?
ReplyDeleteAnonymous, have you tried to re create the installation partition?
ReplyDeleteVey good,and cool
ReplyDeletethank U dude for helpful tips
ReplyDeleteNICE GUIDE DUDE
ReplyDeleteWhat if I formatted before I instal? Will that not let the instal take place?
ReplyDeleteAnonymous, as long as you have a full version of windows you'll be fine. The install starts on the CD/DVD and it will copy files over to your newly formatted drive.
ReplyDeleteThis comment has been removed by a blog administrator.
ReplyDeletei did got: A required cd/ dvd driver device driver is missing. if you have a driver floppy dick, cd, dvd, or usb flash driver, pleas insert it. and i dont know what to do
ReplyDeleteAnonymous, how are you installing it?
ReplyDeleteExcellent
ReplyDelete